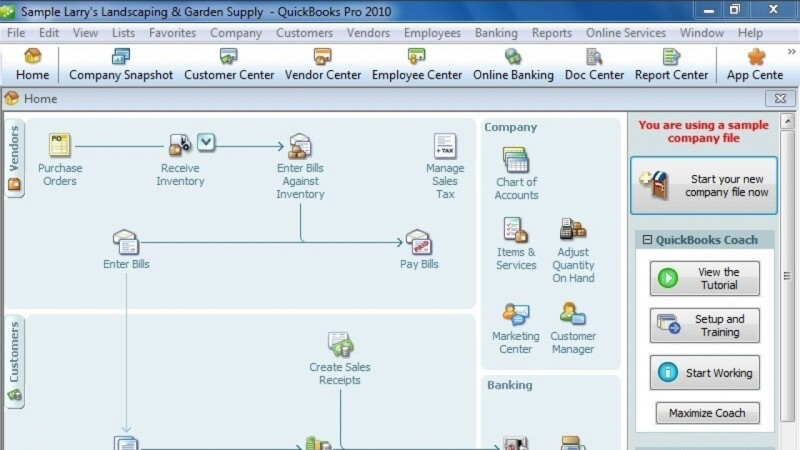
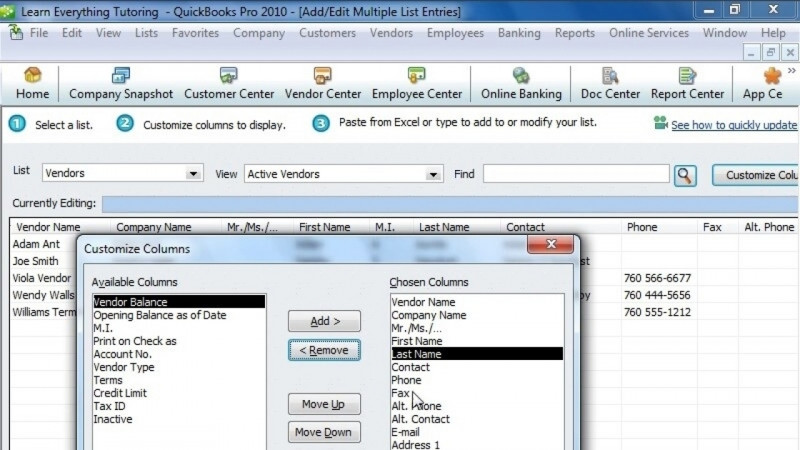
In this lesson, you will learn how to add inventory items to your QuickBooks file. Let's continue using our sample product based company Rock Castle Construction to complete the lesson. The first thing you'll want to do is make sure inventory is enabled in your file. Select edit. Then preferences from the main menu. Select items and inventory. Then the company preferences tab. Check the box for inventory and purchase orders are active press okay. QuickBooks will warn you that it must close and open all of your windows to change the preference, press okay. Now the inventory is enabled, let's take a look at our items list. There are three item types related to inventory, inventory part, non-inventory part and the optional use of a group. Let's start by creating another sub item for our new privacy fence option. Once we create new item, we have the dropdown list of all the item types available. Let's select inventory part. QuickBooks reminds you that inventory part is used for goods that you purchase, but you also need to track. For our item name, let's call this fence panel. We'd like to create this as a sub item of our privacy fence. Remember, when creating sub items, the parents and the sub item must have the same type. We don't have a part number so let's move on to the description. We'll call this a wooden fence panel. We can use the same description on our sales transaction, which is the invoice. Next, we can enter the cost that we pay the vendor for each of the panels. Let's select $10. Once we sell the product, the cost of the fence sold or the cost of goods sold will post to our profit and loss statement. In this case, $10 will post as the cost of the fence panel. We'll select cost of goods sold for our account. If you have a preferred vendor, you can press the dropdown menu to select it. Next, let's enter our sales price. We charge our customers $50 per panel. The next dropdown you can select if the item is taxable or not and where you would like the income to post once you charge your customer. Let's select construction income. This bottom portion tracks the inventory related to the item. We first want to select which account will post the inventory to. In this case, we have one inventory account called inventory asset so when we purchase the fence panel from our vendor that $10 will post to this inventory asset. Once it's sold, it will reduce the inventory asset and move over to the cost defense or goods sold. Because this is a new item for us, all of these values can remain zero. We don't have any fence panels on hand so the quantity is zero along with the related value. These will increase as you purchase more inventory. Also QuickBooks can remind you when it's time to reorder more. Just enter your minimum reorder point here. One more thing to show is the custom fields. If you'd like to list the color or material of the panel, you could do so here and define additional fields using this button. Let's select okay to save this part. Next, we allow our customers to add custom decor to their privacy fence. We purchase this item from our vendor and we sell it to the customer at a markup. This would be considered a non-inventory part. Let's create it. On the dropdown menu, we'll create non-inventory part. QuickBooks reminds you that this is used for goods that you buy, but do not track. Let's name the item Custom Decor. Because it is a non-inventory part, we cannot include it as a sub item of the privacy fence which is a inventory part. They may differ from time to time so we don't wanna include a specific part number. Unfortunately, assemblies are only available at a higher QuickBooks subscription level even though it's shown here in the accountant's view. Let's add a description for our custom decor. We'll call this custom decor for privacy fences. This section is going to list how much we charge our customer for the product. Because it may vary. We can leave the price at zero and update it once we add it to the invoice. We can use the dropdown to and also note where we would like to post that income once it's sold. Let's choose design income. Select okay to add the item. We can also use groups as an inventory item. A group is not an item in itself, but rather a shortcut to add multiple items to a form at once. Let's create a custom privacy fence package. We'll create a new item and select group from the dropdown. QuickBooks reminds you that this is to quickly enter a group of individual items on an invoice. We'll name this our custom privacy fence package. We'll leave our description blank since our group name is self-explanatory. Printing the items in the group allows each individual part to be listed on the invoice. Let's select our items. We'll begin with our privacy fence items which is our fence panel, our fence handle and we'll also add our new custom decor package. You'll see that the description we enter for each item will flow over. Now remember, inventory parts are the only parts within QuickBooks that we can track the quantity for. Our inventory parts are the wooden fence panel and the privacy fence handle. Because the number of panels may vary from time to time depending on what the customer needs, we'll leave this blank and we can enter it on the invoice directly. Typically, we only need one handle per fence project. Let's enter the number one here. As we add this group to our forms, once the invoice is closed out, all of the inventory parts that have a quantity listed will update accordingly. Let's select okay to save this group. You'll see we have a new group now called the Custom Privacy Fence package. Stay tuned for the next lesson where you'll learn the accounting workflow for our inventory transactions. Thanks for watching.