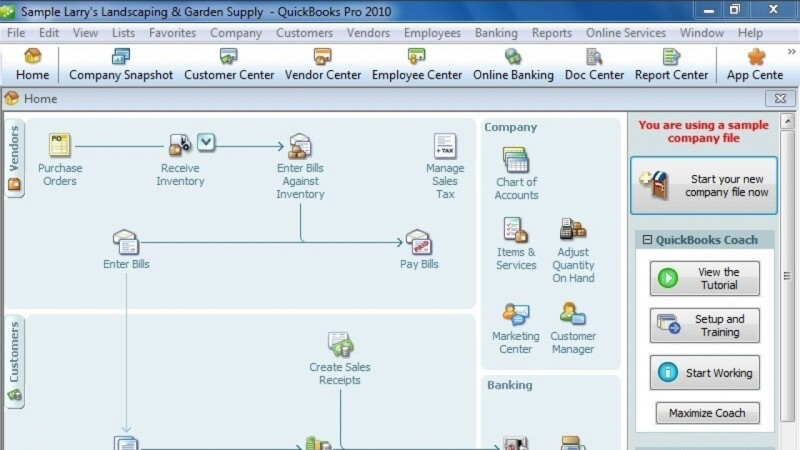
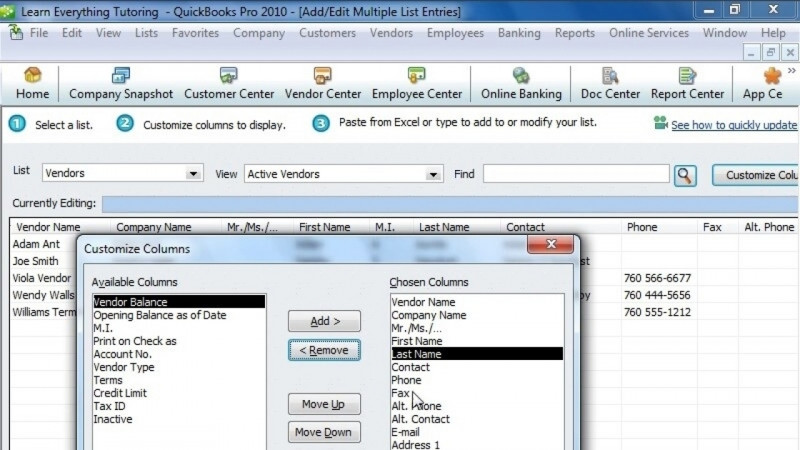
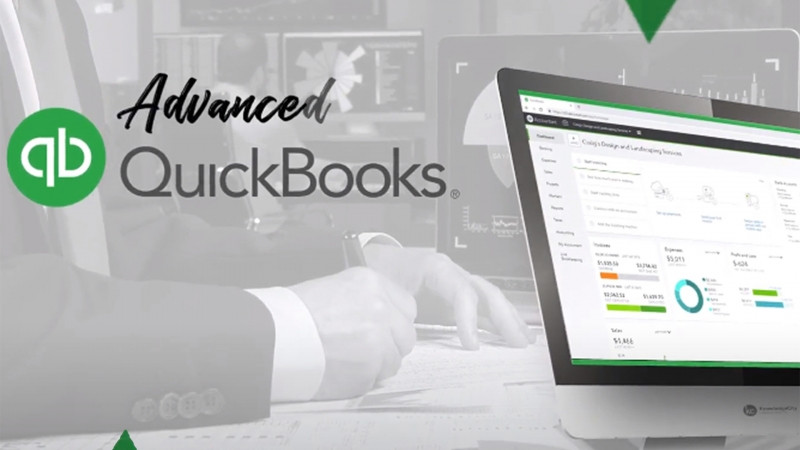
In this lesson, I will show you some of the key QuickBooks Pro updates for 2022. As you may have noticed, the most significant update is the new subscription based model for Pro and Premier. Although the application is installed on a desktop, QuickBooks Pro and Premier are now subscription based similar to Enterprise and QBO. Users will lose access after their 12 month plan expires if the subscription is not renewed. The desktop applications are solely being phased out. So to renew QuickBooks Pro, users must contact Intuit directly for 2023. You will only see their premier and enterprise subscriptions listed on their website. The next update affects users in the e-commerce industry. To view this page, select company from your main menu, then my company. The bottom left hand tile says, get e-commerce integration. This adds the web agility app to your QuickBooks Company file. The web agility platform integrates your commerce merchant such as Shopify, Walmart, or Amazon with your shipping merchant into your QuickBooks Company file. First, let's log in as an admin. Once we're logged in as an admin, we'll see this screen, select, activate and move forward to choose the subscription level for web agility that you'd like to purchase, and add to your QuickBooks account. The next set of features relate to vendor bill payments. Let's select vendors from the main menu then upload and review bills. Working from the right to left, first, you can select manage users to identify the individuals that should have access to this screen, new for 2022, you can add QuickBooks Desktop as a mobile app on your device. From there, you can snap a picture of a bill that you have, and added directly to your QuickBooks file. You can also have your vendor email your QuickBooks file directly. To select the email address, you choose a custom name, ensure it's availability, then select claim. Once your email address has been claimed, share it with your vendors. When your vendors emailed the bills they'll be added directly to your QuickBooks account using this screen. You can also upload copies of bills directly from Google Drive or browse your computer. Once bills have been uploaded they'll be added to the four review tab and once they've been reviewed, they'll be moved over. You have a few batch actions you can handle which is to edit all of the bills, delete all of the bills, or move them to receipts. The first item is grade out, even though the bill date, due date and amount have come in. If we look at the warning label it says that this vendor does not exist. However, if we choose to just pay the amount without creating a bill that we pay later, the system will automatically add the vendor for us. In our second bill, all of the details related to our uploaded document have been matched. In that instance, we can select a action. We can review the bill, delete the bill, or move it to receipts, a very similar list to our batch actions that we just saw a moment ago. Let's review the bill. Reviewing the bill gives us a preview of the item we've uploaded, and a preview of the transaction that it matched to. Since we know that the items match, let's go on and mark it as reviewed. If the items didn't match, we could hit the remove match button to unlink them. Once we marked it as reviewed, the copy of the bill attached to the transaction. The note tells us that the bill is attached to the transaction and if we'd like to review it, we can go to the bill. Next, let's add this vendor to see how this transaction changes. In a different screen I added the vendor. Now let's refresh to see if it recognizes that vendor. You'll see the vendor name is now black and the warning symbol has gone away. Since this is a new bill for us, let's edit the transaction to make sure it will post to the proper account. We've selected the vendor, which is Cal Gas and Electric, now, let's select the expense account. Since we know we need to pay utilities we'll select utilities from the list below. Let's hit save. The bill details have been updated, however, this only updates the bill details for the item that you've uploaded. This does not yet add the item to the system. Let's hit select to import this data into a bill transaction. You'll see now the vendor has been selected along with the date of the bill, the amount, the due date and then the utilities account that we selected. Once we hit save and close, our copy of the bill that we uploaded will create this transaction in QuickBooks. This adds all of the items we've reviewed to the review tab. Taking a look at that same bill, another new feature for 2022 is to schedule that payment online. There are two ways to do so, we can just select the schedule online payment directly from the bill screen, or we can go to vendor and pay bills. On this screen, we'll see all of the bills that are due, and towards the bottom we can select the method as schedule online payment. Let's schedule that utility payment. Once we hit pay selected bills since it's our first time using the service we'll be asked to add MEO as a bill pay option for the file. The admin will be able to select these accounts to enter the company details to both pay, or schedule a future payment for this vendor. Similarly, one last update for 2022 affects how our customers can pay us. We can now allow our customers to pay us electronically directly through QuickBooks, select customers, then payment links from your menu. Just like the other options, an admin must be available to add this feature to the account. Once we select payment links, this browser opens. We can sign in here using our QuickBooks account to add the feature to the QuickBooks file and allow customers to pay our invoices to them directly. Thank you for watching.