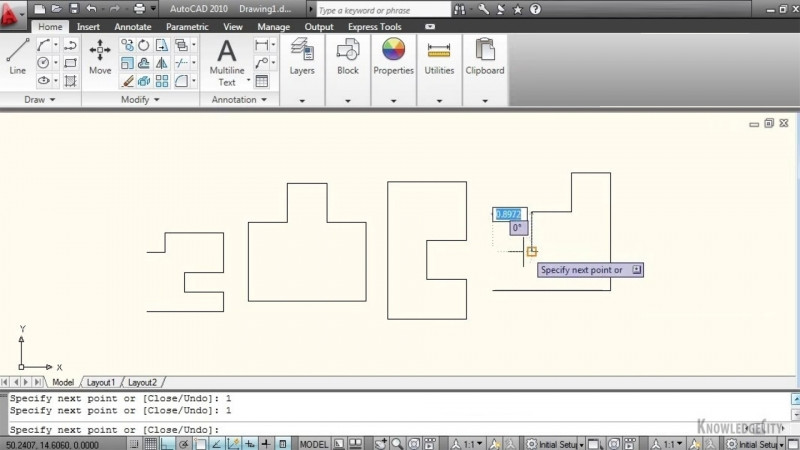
In this chapter, we are going to begin working with some text, tables, and dimensions in AutoCAD. And in this particular lesson, we are going to create some single-line and multi-line text. So, before we get started, I'd like for you to open up the single-line and multi-line texts drawing from your exercise files. Once you have that open, let's follow along. In AutoCAD, there are a few commands that allows you to add text to your drawings, single-line, and multi-line texts. Let's start with the single-line text. In AutoCAD, let's go to the home ribbon, and let's go over to the annotation panel. From here, we have the text commands. Let's click the drop down arrow here, and let's choose single-line text. Now, notice across the command line that AutoCAD gives me a preview of the current settings for this command. It has a text height of one, annotate of no, and justify is set for BC. Justify is short for justification, which allows you to adjust the text placement. So, I would like for you to type out J for justify, and press enter, and look at the options that we have available to us. All of these are justification options. This is middle-right, middle-center, middle-left, at the top, we have left, center, right, and so forth and so forth. Right now, we're gonna go back down to bottom-center, click on it. And now it's asking for us to specify the bottom-center point of our text. So I'm gonna come over here to the top line and we are going to select the mid-point snap. Click once. And now AutoCAD is asking me to define a text height. The current height is set for one. I'm gonna accept that by just pressing enter. And now it's asking me to define a rotation angle for my text. For this purpose, I don't wanna rotate the text. So I'm gonna accept the answer of zero and press enter. And now I can begin typing my text. I'm gonna turn on my cap locks and I'm going to type in top, T-O-P. I'm gonna press enter. And I'm gonna type out side, S-I-D-E. I'm gonna press enter twice to exit the command. There, we've placed our first single-line text. Let's reissue the command pressing enter on our keyboard. You gonna type J for justification again, and press enter. Let's come down and make sure again, we are on the bottom-center. This time we're gonna choose the mid-point on here, on this side. For the text height, were gonna leave it at one. For the rotation angle, we are going to pick a point along this line. Let's go to this end-point, and now I can begin typing up my text. We're gonna type out, left, press enter. Let's type out side, S-I-D-E. And before we press enter, set the rotation angle, the text is going to stay upright until we finish with the command. So let's press enter twice to exit the command. And you see my text rotated. Let's select the word side, over here, and over here. And let's press the delete key on our keyboard. Now let's take a look at creating some multi-line text. So let's come up here to the annotation panel of the home tab. Let's click on the text button, and let's select the multi-line text. Here at our cursor, we're given a preview of the text height that we're gonna have. Also, note at the command line it gives us a current display of our settings. It's asking us to draw with the first corner. You're gonna create this like you're creating a rectangle. You're gonna give it two points. So I'm gonna come inside of here, click for the first point, and I'm gonna drag down. This is the bounding box for your text. This is gonna give you the ability to create text that you can conform inside of this box. Notice after I placed that second point, that the ribbon changed to what AutoCAD calls the text editor ribbon contextual tab. And I have all of the formatting options that I would typically see in a word program like Microsoft Word. Let's type in some text. Now, let's come over here and change some settings. Let's change the setting here to be center based. So let's select the text first, come up here, choose center, and I want to make it all bold. Let's de-select. Let's select this line here and I want to make this portion italicized. When you're done, just click anywhere outside of the text. And there you have it. To modify any of the text objects. You can just double-click the select and you'll be placed in the text editor. So if I wanted to change this to be lowercase, for example, I'm gonna turn off my cap locks and I'm gonna type out, left, and then I'm going to press enter twice. If I wanted to modify this text here, I can just double-click it. I'm gonna select this text and I'm gonna backspace, and I'm gonna click once outside of the box to finish the command. Thanks for watching this lesson. Stay tuned for the next lesson where we will set up some text styles.