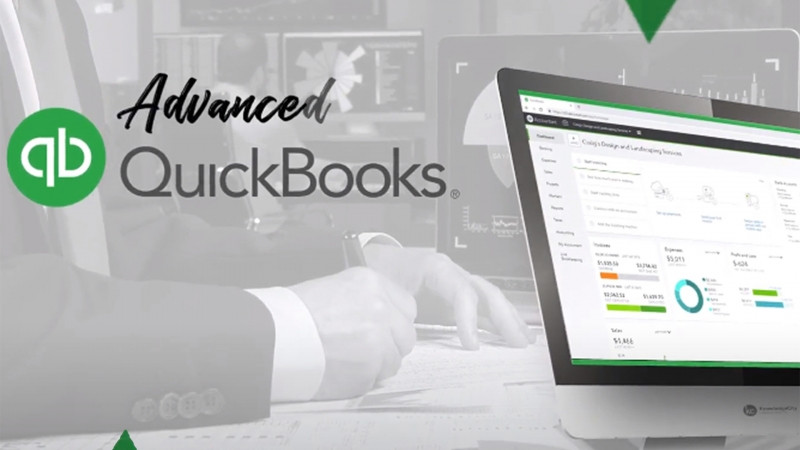
Hello, my name is Tequisha Strong. In these lessons, you'll learn additional features and tips for identifying and tracking 1099 eligible contractors using your QBO file. You'll first learn to add the contractors, then you'll learn how to identify and track 1099 eligible accounts. Finally, you'll learn how to run reports to determine if your contractors are eligible for 1099 reporting. We'll be using our sample company, Craig's Design and Landscaping for the lesson. Select get paid and pay from the left side panel menu. There are two ways to add 1099 eligible contractors to your QBO file. You can add them as a vendor, or you can add them as a contractor. Let's select vendors. On the vendor list, you'll see one of the columns are labeled 1099 tracking. Let's walk through how to add a new vendor, identifying a 1099 eligible contractor. Select new vendor from the top right of the screen. We'll call this vendor John Doe. You can enter the vendors identifying information, such as their email, phone numbers, and address. For purposes of this lesson, we'll skip the identifying information so that we can learn how to track the vendor for 1099 reporting. If you scroll down to the additional info section, you'll see an option to add the vendor's business ID or social security number, and toggle track payments for 1099 directly on this vendor form. You'll want to request a W9 form from your vendor if you know they may be eligible for 1099 tracking. Remember to consult with your tax professional to understand the rules related to 1099 reporting. If you already have that vendor's 1099 information, meaning their EIN or social security number, you can manually enter it here. Then select track payments for 1099. If the vendor has a standard billing rate, you can enter that here, along with the default terms to pay the vendor. If your company has an account number with this vendor, you can enter it in this field. If you know you will almost always use the same expense category related to this particular vendor, you can use it from the dropdown. Otherwise, it can be entered as normal when you receive a bill from the vendor. If you have an opening balance with the new vendor, you can enter that amount here along with the date so that your total accounts payable balances are in sync. Let's select save and take a look at this vendor. If we scroll down to our J's, we'll see now that we have a new vendor, John Doe, who has a check mark under 1099 tracking. The next way to add a 1099 eligible vendor is to use the contractors menu. Selecting contractors from the left side panel, we'll see all vendors that have been listed with that check mark under the 1099 tracking column. On the contractor screen, you can view all payments to contractors. If you had a more extensive list, you can type in the name of the contractor to locate them. You can change your view to only view active contractors, inactive contractors, or all of your contractors. You can prepare 1099s, add a new contractor, or pay your contractors at once. You'll see that John Doe is included, along with a warning labeled that the W9 is missing. In order to gather that information from John Doe, we can select Finish Setup and Pay. Selecting Finish Setup will allow us to initiate an email to John Doe, so that John Doe can complete the information and fill out the W9 form electronically. Let's add a new contractor directly from this screen. In this case, we'll add Jane Doe. You'll see the Add Contractor screen is significantly simplified compared to our vendor screen. Similar to requesting the information from John Doe, in order to initiate the W9 reporting for Jane Doe, all you'll need to do is enter Jane Doe's email address. Let's unselect this box and select Add Contractor. This will take us to the contractor's detailed information screen. We can add the contractor type, in this case, this is an individual, and then we can be prompted to enter in any of the identifying information that we already have available for Jane Doe. We'll enter her first name, her last name, the Social Security number that she provided to us, and her mailing address. Select Save to Close. You'll now see that we have Jane Doe's identifying information. However, under the Documents tab, QBO will note that we're still waiting for Jane Doe's W9 form. In the next lesson, you'll learn to identify and track the 1099 eligible GL accounts used for reporting. Thanks for watching.